Thursday, June 2, 2016

Bring forth the aluminum, for we have need of structure!

Finally!  The big delivery!  Almost looks like four mini Fiamma awnings.  Nope, its boxes full of 80/20 aluminum t-slot extrusion. Also known as "the industrial erector set". As mentioned before, I found this stuff while perusing the different van forums before ordering BoB. Especially the builds by Geek and Graphite Dave. Good stuff there, and hard to match their design and build quality.

So, with a general layout in my mind I did some more rough calculations on how much 80/20 I would be needing and placed the big order.  I don't remember the cost, but fairly sure it was over $1k total, maybe $1.5k.  Yeah, I know there's cheaper options... but this is what I wanted to play with.

 Delivery time! These were 70-80 pounds apiece. I'm sure the UPS guy grumbled at me this day.

I knew there needed to be some decently organized storage for all this stuff. Didn't really have an empty wall to place the stuff, either vertical or horizontal. But I did have my recently built bike rack. Added some standard shelf brackets to the side and I now had storage copious linear feet of aluminum.
 
 So, it was time to go from this...

To this, and actually get started.  Yeehaw!   *gulp*

The first layout. As you'll see in future commentary, the plan is to fill in the space between the grid with polyiso foam board insulation and some rubber flooring, 1.5" total thickness to match the 15 series 80/20.

 A quick turn of the camera to show the 'shop' that I'm working from. Its the middle bay of a three car garage. The bike rack is to the right, and the single bay with her car is to the left. Front and center is the main workhorse when messing about with 80/20. Miter saw with a non-ferrous carbide blade. Works great! But it does produce one helluva mess. The cardboard box to the back catches about 80% of the aluminum shavings, but there's still a big mess on the floor every time. I acquired the saw earlier in the year when I built a custom dog crate with 80/20. The idea was to get familiar with the stuff, see if its what I wanted to use in the van. Also seen is the drill press back on the workbench. It was bought for the BoB project. What good is a project if you don't get to acquire new tools?

Someday when I'm done working on BoB the workbench will get wheels and move over to store in the back and maybe, just maybe I'll get to park my car in the garage.

Yeah, that's me; with BoB in the background. Its been interesting at times working in there, as our driveway has a 6 degree (10%) slope. Extensive use of squares and measuring to check everything, not a single use of a level.

And here we go. The floor grid is assembled and bolted into place. I used elevator bolts from the backside of the plywood to angle brackets bolted to the floor grid. (elevator bolt: think carriage bolt but with a larger and flush fitting head)  The plywood is bolted to the factory cargo tie downs. Nothing will be moving, thank you very much.

 A closer look at how the floor grid is secured, along with the first wheelwell box. I've seen some nicely built curved boxes, or ones with access doors, but I'm hoping that this will be the majority of 'wasted space' that I have to deal with in BoB. And even now I still have plans to provide access into there for small items.

And here's a sequence of finishing the rear door sill for the floor grid. I knew that I would need a piece of 80/20 as a 'threshold' to protect the edge, so I went with a solid face to keep out the crud and just have a smoother appearance. The edge of the plywood was covered with a basic aluminum angle piece from Home Depot, with spacers of the same material to hold it all at the same height. Add in some of the Sikaflex adhesive left over from mounting the Fiamma awning, and again... this will not be moving.


Really getting excited by this point. I'm actually building something! And it looks good! Well, to me anyway.

Time to start mocking up the interior. I had the other wheelwell built out by now. I knew it would be taking up valuable space in the bathroom area, so we had to see exactly how the composting toilet would fit. So in it goes...  Hold up some plywood to emulate the wall, have someone take a seat, and find that it'll work well enough. Its not meant to be a spacious master bath with jacuzzi and a sauna, just someplace to do your business.
 
Building the first iteration of the bathroom walls. The plan is to have them stop just shy of the ceiling panels. One, to provide some ventilation to the bath/shower area; two, easier not to deal with another intersecting plane.

First test fit of the back panel for all my electrical goodies. More to come on that subject...
 

 A couple fun shots through the back windows.


Contemplations...

When this project first started I played around with SketchUp and did some rough 3D modeling of a few layout ideas. It drastically changed from those first ones, but I never did stick with the design and drawing side of things. With my old drafting background, I really should have. Instead, the whole project design has been in my head, aside from a few sketches to work out details, or remember solutions. This has been great in allowing flexibility as I go, but has also managed to impede progress when I really have no idea what's coming next. Or what happens more often, when I get overwhelmed with all the different things that need to happen next, and then figuring out what order it all needs to happen. Argh!


So sometimes you just have to sit back, relax, and absorb the ideas that emanate from the project itself. This was the end of September, a bit over three months of BoB time. We had settled on the overall layout, so no problems there aside from some fine tuning. The blue tape you see on the plywood is the planned layout for the 80/20 aluminum structure for the floor construction. I modeled my flooring build almost directly from Dave Orton (Graphite Dave) on the Sprinter and Transit forums. Actually, much of the overall build and the plan to make extensive use of 80/20 came from Dave, and from Geek's adventure van build over at ADVRider. Great inspirations, both of them.


The other thing that had been consuming my contemplation time was what to do about batteries.

I had basically settled on using the 'standard' of AGM batteries, and knew that we wanted a decent amount of capacity since we would be getting a large fridge and experimenting with a 12v a/c unit. I wanted at least 100ah of usable capacity, for an AGM this meant at least 200ah rated capacity. And this means a lot of lead. Looking at either two 6V batteries or one BIG 12V battery, anywhere from 130 to 160 pounds. And with the size required I didn't really have a good place to put them inside, so I was looking at mounting under the chassis. Not a problem, I thought, as folks have been doing that for years in the land of Sprinter conversions. So, mock up things up with cardboard again and see what I can come up with.
 

Holding the box in place with tape measures while getting the ground clearance at the same time. Worked quite well.


It really would tuck up there quite well, not too worried about the ground clearance as I don't intend to be flying around offroad.


Hangs down just below the hanger for the rear leaf springs. This could work.


But it didn't.


It cost a good chunk more, but we ended up going with a lithium battery instead. Acquired again from AM Solar. They had a battery kit including the battery cells, wiring, and BMS (battery monitoring system).  About a month after this mockup I drove down to AM Solar again and picked up 200ah of lithium batteries. It was less than half the size the large AGM would have been, and only weighed in about 60 pounds total, while giving over 160ah usable capacity since you can take them down to 20% or less, compared to the standard 50% draw for lead batteries. More to come on this as we enter the wiring stage in a little bit.

Time for another Oregon road trip

Early September now, according to the blog clock.  ;)


Completed the awning awhile ago and recently played around with mockups of the interior, as mentioned many posts earlier.  Here's some pictures for a reminder:

 
Definitely recommend going the cardboard construction route to mock up your layout. Doesn't have to be anywhere near perfect, but it certainly gives you a good feeling on what will be where.


I've seen some folks use thin plywood for mockups. That'd work too, but feels a bit too much work. Cardboard seems much easier to cut, tape, redo, move around, and then take down when done.


It has now been nine months since I took these pictures (yeah, I'm that slow to write about this). What surprises me is that the layout has not really changed since we put together "Cardboard BoB". But before we did this there were probably 3-4 major design layouts we talked about, with small changes to each of those. 


Now, about that road trip... 

Yeah, back down to Oregon. I'd be taking the bike down to my favorite town of Maupin, OR, right on the Deschutes River. There's a 6 and 12 hour bike race there every September, I was going down to help out and maybe get some riding in. Rather glad I did, as it was the last time for the event. It is no longer, mostly due to low turnout over the last few years.


Load up the recumbent bike and toss in the camping gear again. Yup, still have the plain Thinsulate on the walls and ceiling. It could be better, but it does a quite well even with that much exposed body metal.


Hit a 'rollover' milestone on this trip. I wanted to start taking a picture over 1000 miles, just have a bit of a memory of where BoB has been. That lasted... maybe a couple more photos.  Oh well...


After the weekend in Maupin it was time to head south to Springfield, OR. Wanted to get a head start on things the next day, so I drove a bit out of town. I knew the road had this massive maintenance pullout, so I figured that's where I'd spend the night. These were taken the next morning.


As usual, there was a very strong wind from the W and SW, enough that it was rocking the van when parked in the open. Originally I wanted to 'hide' behind the gravel pile, be less visible to the road. Problem is that was the windward side. So... moved over and 'hid' behind the pile. Made a noticeable difference.


On the road down to Bend, OR.  Roadside marker with viewpoints of the regional mountain peaks.


Stopped at the Crooked River and Peter Skene Ogden State Park.  Having driven Hwy 97 a few times I had noticed this crazy bridge from the main highway. Today, today it was time to stop and check it out. Very impressive. Had a nice hike out along the gorge and enjoyed the views. This is a nice way to travel, being able to stop whenever and wherever just because...


Got my way down to spend the Sunday in Bend. I'd only driven through on the highway before, ended up having a great day walking all over the place. Enjoyed the river park downtown and then headed south to the Old Mill District. Even got to practice parking BoB in a standard ol' parking space. Try doing THAT in a regular RV. I missed getting a picture of the one downtown, it was even smaller (enough so that entry was through the sliding door, and at least it was on the end, so I only annoyed one car next to me)


On the road from Sisters, OR, over the hills to Eugene.  Seemed a rather appropriate sign for BoB.  I think he'll fit just fine.


Somewhere just off McKenzie pass.


Parked for the night at a trailhead for the Pacific Crest Trail. Spent an hour out hiking the trail where it goes straight through the lava fields.  Started on the trail right before sunset, got back when it was dark. At least I remembered to take a small headlight with me.
  

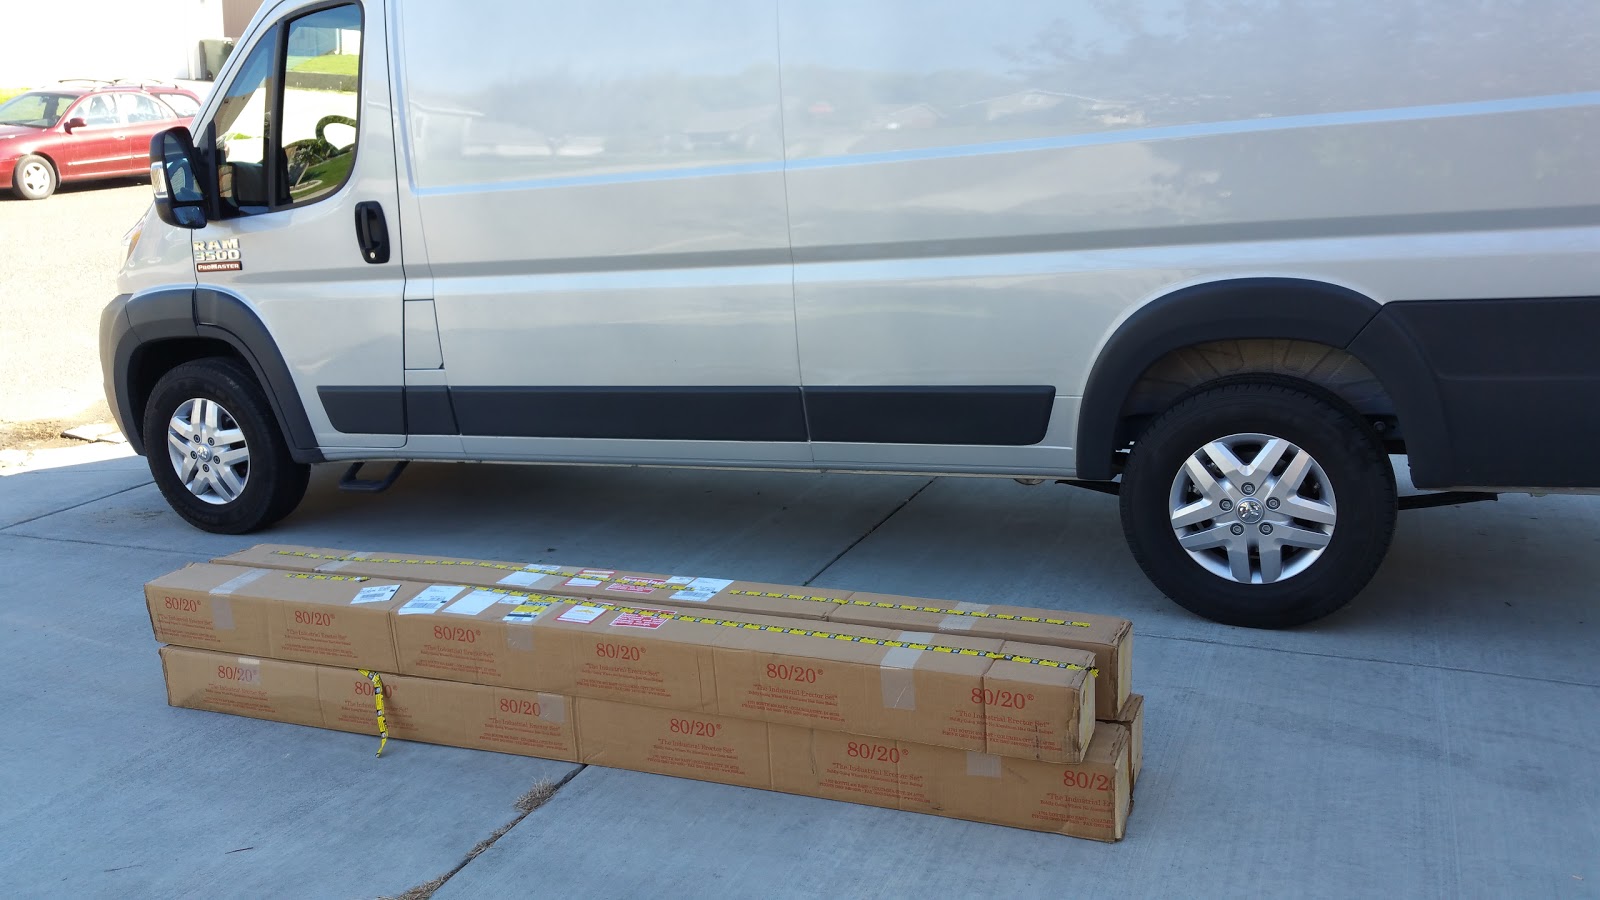
And then on to Springfield, OR, and my second destination. Rolled in Monday morning to AM Solar, the best RV solar shop out there. I had been working with the guys for awhile on getting together the parts for my system and figured with a detour on the weekend I could stop by and pick it all up instead of dealing with shipping. Their customer service has been above and beyond.

Ended up taking home four 160w solar panels, wiring, combiner box, Magnum MS-1012 inverter/charger, and Bogart Engineering electronics (TM-2030 meter and SC-2030 controller).  At this point I had not yet decided on batteries, so all the goodies for the electrical system, but no way to store the energy. That would come soon.


It was lunchtime by the time I was headed through Portland. So a bit of a detour off the highway and a stop at one of my favorite burger joints, Little Big Burger. Still managed to park on the street, but the length of the Extended PM was a bit more noticeable here on the old streets of Portland.

Wednesday, June 1, 2016

One awning to cover it all

Next up on the list...  the awning.

We went full size on this thing. All thirteen feet of it. Figured the cargo area of the van is 13' long, might as well have the awning go the full length.

I've seen many vans where the awning stops short in the rear by a couple feet. I understand why (at least I think I do... to allow the rear door to fully open with the awning out), but I didn't care. I'd rather have the extra awning coverage than the ability to swing the door 270 degrees open with the awning out.

Anyway, as for the install, it was a family event. Headed over to my parents' place. Not only for the help from dad, but also their wonderfully flat driveway. Setting up the awning on my driveway with a 6 degree slope (10% grade) driveway would have been dangerous, if not simply impossible. I think the full awning and hardware weighed around 90 pounds. It was a challenge to handle.


Setup for the day. Many, many times up and down the ladders.


Mounts... mounted.  ;)  Quite pleased with the Fiamma setup. Definitely fine tuned from years of Ducato sales in Europe. Mounted quite solidly on the oddball little rack mounts on the roof. Add in a good layer of Sikaflex adhesive per instructions, and they're not going anywhere.


Then it was time to hoist the awning into place.  At least that's what it felt like. Would've been easier with an overhead crane.

 
Yes, that is a dent in the awning. Just another reminder to fully check packages before accepting shipment. Especially big, heavy, expensive stuff. It shipped in one super hefty and reinforced box, and it had some minor tears in it. Looked fine. Even pulled the awning out a bit the same day to look at it. Didn't notice the dent until the day we put it on the van.  Ah, well...


And the first deployment. This will work quite well.


This...  this is big.  And its a good thing.


 Closer inspections, all looks good.


Overall, I really like the awning. The downside is that I haven't used it much in the 8 months since installing it. Not much at all. But we kinda knew that would be the case. Many of our trips we're not in a place to set up the awning. But the ones that we are...  it will be nice. Very nice.